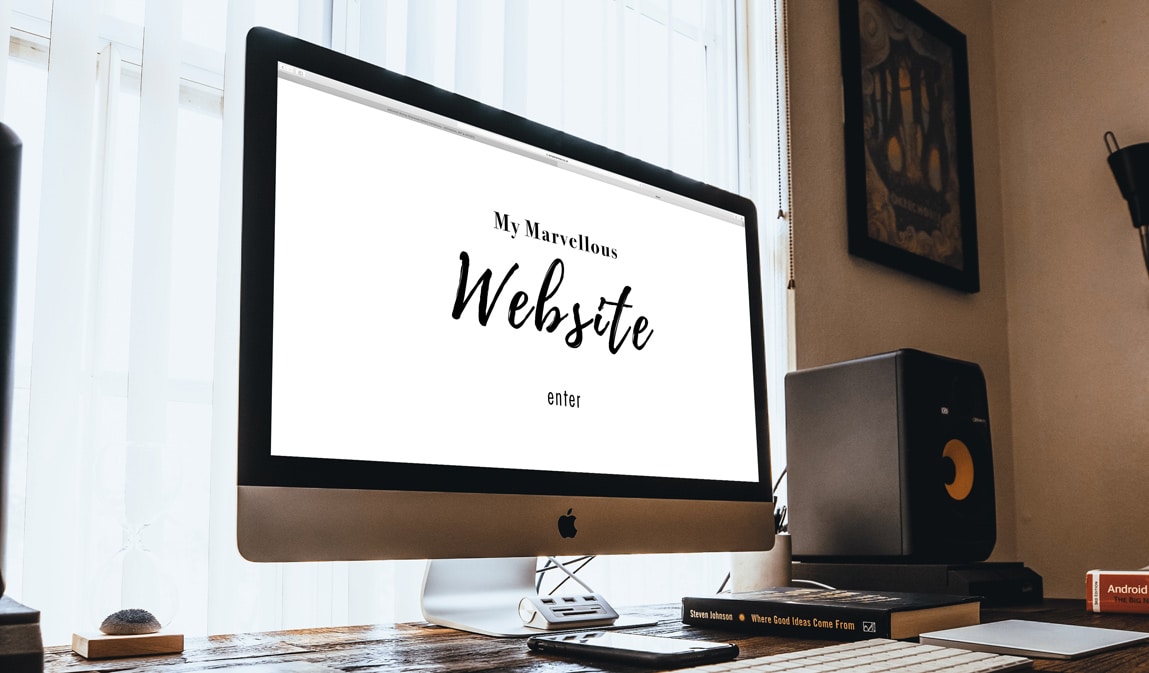
So you’ve finished your brilliant website and want to show it off as a portfolio item, or maybe you’ve just completed a particularly cool website design and want to show the client what it could look like in real life. You could take screenshots, but screenshots on their own are flat and dull. You could photograph the screens on a computer, showing how it actually appears in use – but you’re not a professional photographer and getting a good-looking image of the contents of a screen is more tricksy than you’d think. Besides, there is another way, an easier way – welcome to the Magic of Mockups.

Don’t you mean mock-up?
Actually no. Generally speaking, a mock-up tends to be any kind of artwork or model that gives an impression of how something will look and/or behave when it has actually been built. For our purposes a mockup (no hyphen) is a specifically digital trick, (usually using the Smart Objects feature in Photoshop), to make an image appear in context – as it would be displayed on a screen, advertised on a billboard, printed on a label, or anywhere you might see it in real life.
Put ‘mockup’ into Google and it will return a page full of links to sites offering free mockups for multiple applications – some are even web based so don’t need photoshop at all, but for the best results it pays to have a copy of Photoshop and at least as basic understanding of smart objects.
So what is a smart object?
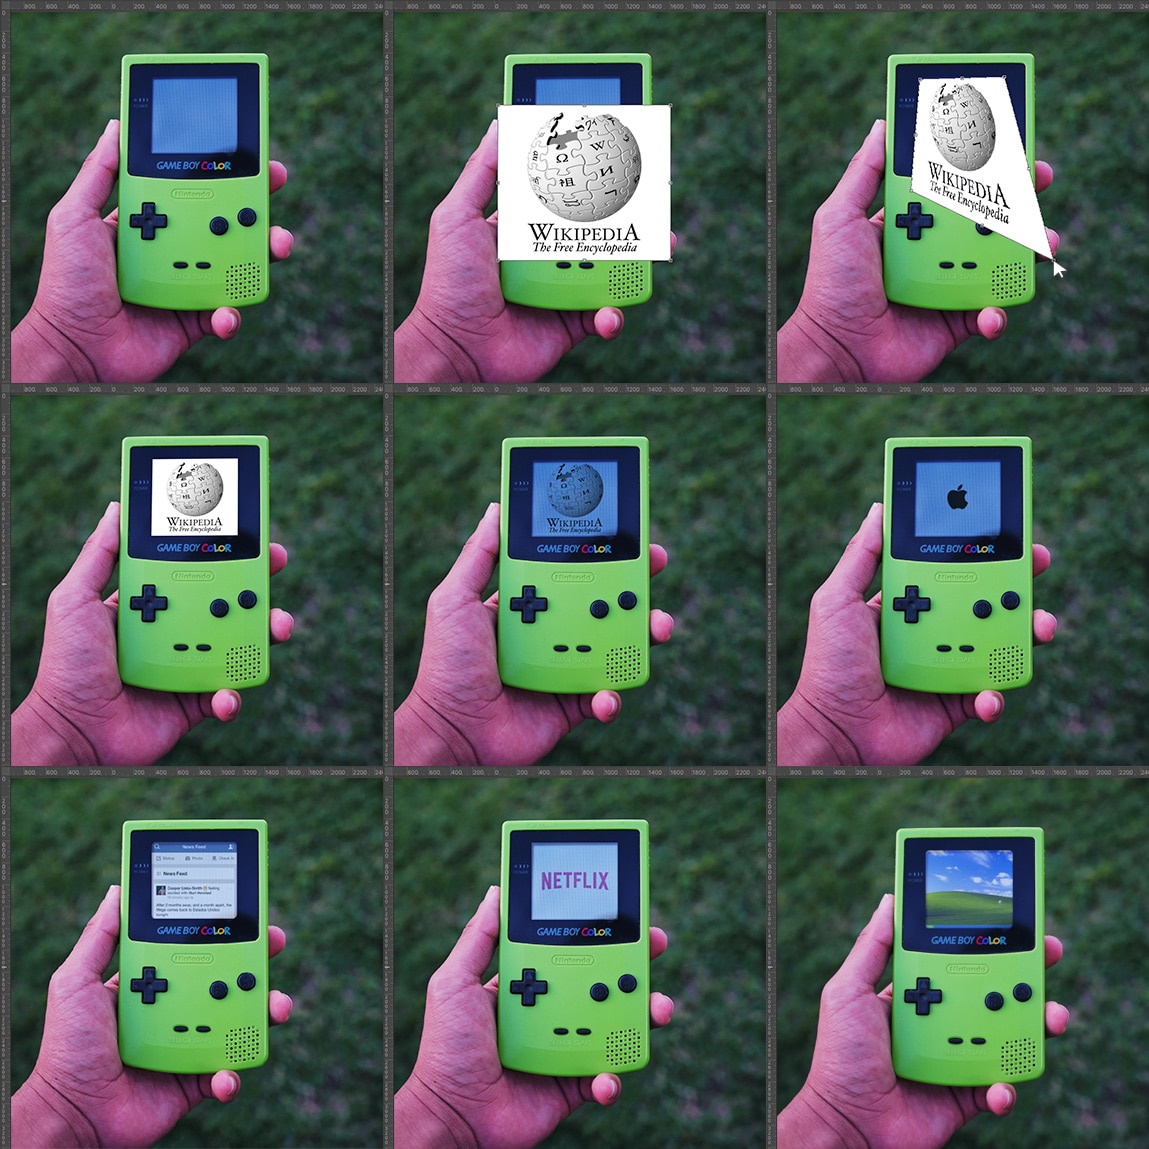
Once upon a time, Photoshop didn’t have Smart Objects, it only had layers. You could put an image on its own layer and do whatever you wanted to it: resize it, distort it, blur it, and generally mess with it in any way necessary to fit in with the finished piece. The problem was that all these changes were irrevocable (or as Photoshop terms them, “destructive”) – so if the requirements for the finished piece changed, you often had to go through all the steps all over again with a different image (or a slightly different set of steps with the same image). Enter Smart Objects which can be made from any layer or files imported into the document. The difference between them and layers is that they exist elsewhere as separate files themselves rather than an integral part of the document you’re working on, meaning any work done on them is stored as actions on that file, so you can always go into the smart object and modify it, (or even swap it out for something else) without affecting the work that’s been done on it. This is the basis of mockup files, because once you’ve made it look like one image exists within a given scene, you can swap it out for any other image.

You’re saying it’s as easy as just downloading a mockup and sticking my image in it?
It can be. But not all mockups are created equal, and it pays to spend a bit of time looking for a good one. Look for ones where the creator has spent time on finishing touches, for example reflections or glare on the screen. It’s the little extra touches that can make the difference between your finished image looking like it was photoshopped or photographed.
Alternatively, if you are happy using Photoshop you can learn to make them yourself. Once you’re comfortable with Smart Objects, you are no longer limited by what’s available pre-made on the web. It’s also invariably faster than the searching for the right mockup, especially if you have specific needs. You can even start having fun by creating bizarre and incongruous image placements.

OK, so where do I find them?
Here are some of our favourite mockup creators:
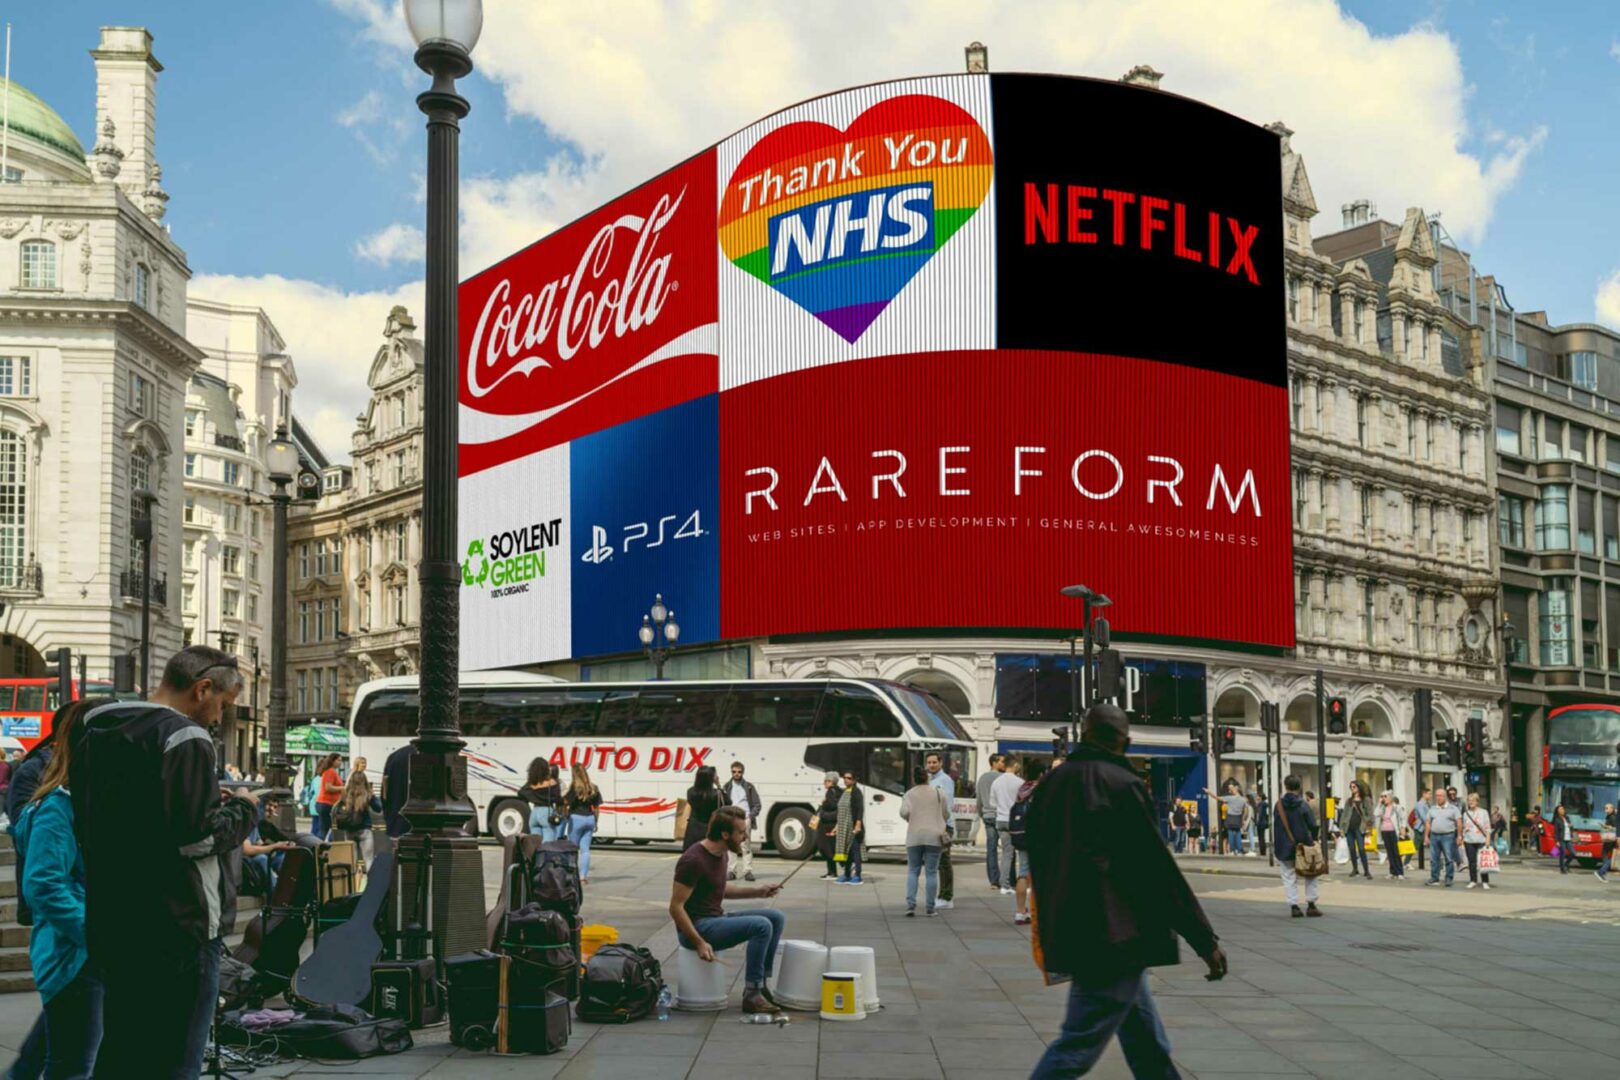
Bharath Selvaraj – whose mockup for the curved LCD display at Picadilly Circus is the basis of the main image for this blog.
You can also browse:
And if you want to make your own, these are great free image sources to get started with:
Posted by: Jean Paldan
Aug 21, 2020


